
Introduction: The Struggle of a Broken Keyboard
Have you ever been frustrated by a broken laptop keyboard? If you’ve had to deal with sticky, unresponsive, or completely dead keys, you know how much it can affect your productivity. Whether you spilled coffee on your laptop, dropped it, or simply wore it out, a broken keyboard can quickly turn your device from a powerful tool to an unreliable hassle.
But don’t worry—replacing your laptop keyboard isn’t as daunting as it may seem. In this comprehensive guide, we’ll walk you through each step of the replacement process, so you can fix your keyboard without spending a fortune on repairs. By the end, you’ll be equipped with the knowledge and skills needed to solve this common laptop issue yourself.
What You’ll Learn:
- How to diagnose whether your keyboard is truly broken or just malfunctioning.
- The tools and replacement options you’ll need.
- A step-by-step tutorial on how to replace your laptop’s keyboard.
- Common mistakes to avoid during the replacement process.
Diagnosing the Issue: Is Your Keyboard Really Broken?
Before diving into the replacement process, it’s essential to confirm that your keyboard is indeed broken. Sometimes, the problem may not be as serious as it seems. Here are a few quick troubleshooting steps to identify the issue:
1. Check for External Damage
Inspect the keyboard for visible signs of damage like cracked keys, liquid spills, or dirt buildup. If the damage is external, cleaning or replacing individual keys might be enough.
2. Test with an External Keyboard
If the laptop keyboard doesn’t respond at all, plug in an external USB keyboard. If it works, then the issue is likely isolated to your laptop’s built-in keyboard. If the external keyboard doesn’t work either, the problem might lie with your laptop’s software or operating system.
3. Check Keyboard Settings
Sometimes, software issues can cause keyboard malfunctions. Ensure your keyboard settings are correctly configured, and check for any recent software updates that might have affected its functionality.
4. Use Built-In Diagnostics
Most modern laptops come with built-in diagnostics tools. These tools can help detect any hardware failures, including keyboard issues. For instance, if you’re using a Windows laptop, you can run the “Windows Memory Diagnostic” tool or use the built-in “Device Manager” to check for errors.
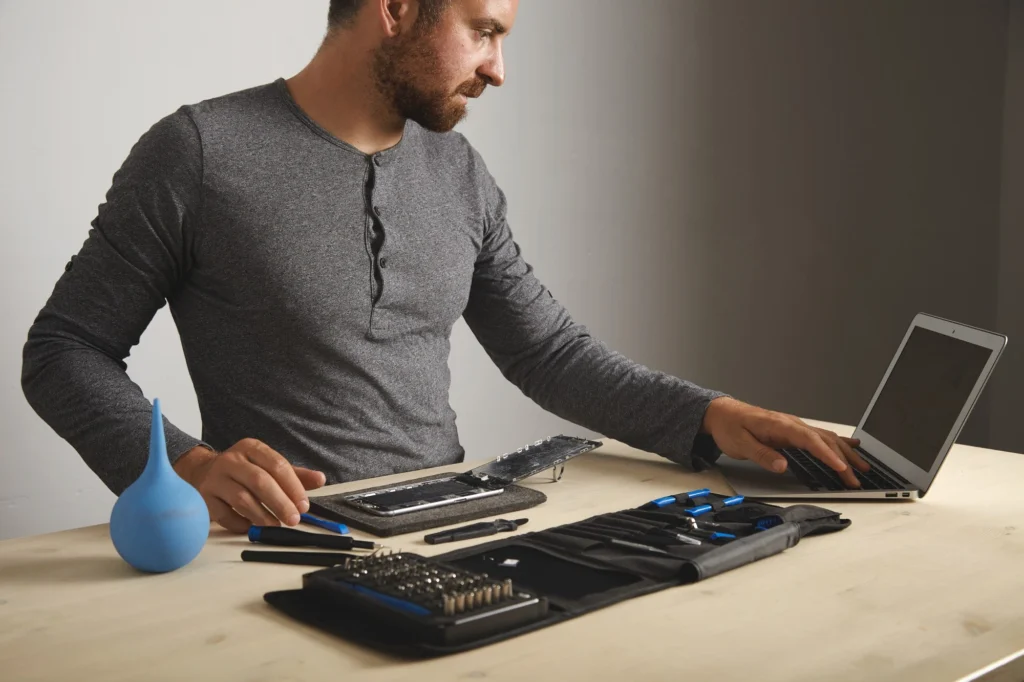
Tools You’ll Need for the Job
Once you’ve confirmed the issue is hardware-related, it’s time to gather the necessary tools. Here’s what you’ll need to replace your laptop keyboard:
Essential Tools:
- Small Phillips-head screwdriver: For removing screws.
- Plastic Pry Tools: To help you open your laptop without causing damage to the casing.
- Tweezers: Handy for removing small screws or parts.
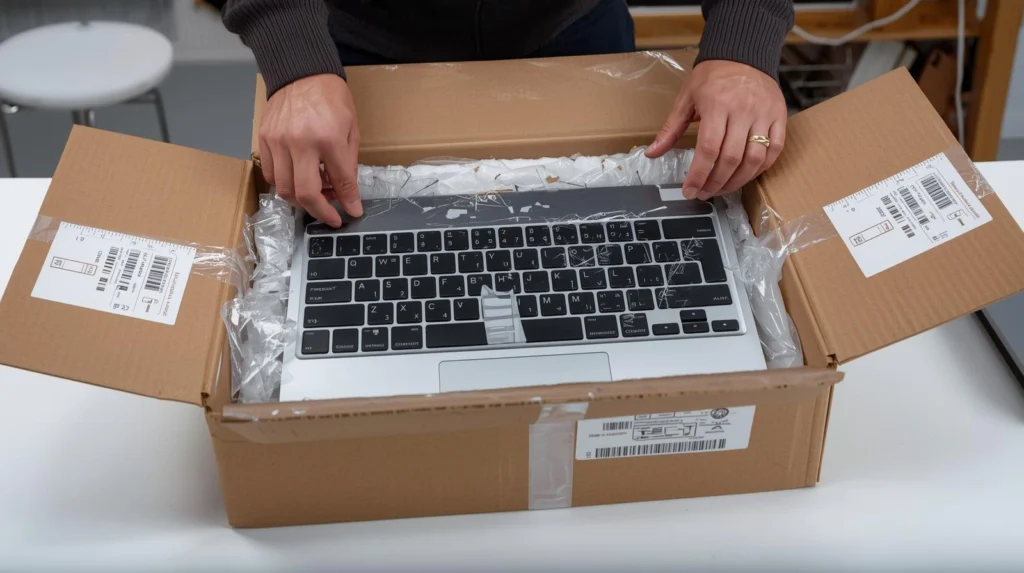
- Replacement Keyboard: Ensure you buy the correct replacement model specific to your laptop brand and model.
- Anti-static wrist strap: This will protect your laptop’s sensitive components from static electricity during the repair.
Step-by-Step Guide to Replacing Your Laptop Keyboard
Now that you’re ready to get started, follow these step-by-step instructions to replace your laptop keyboard.
Step 1: Power Off Your Laptop
This is a crucial step to avoid short circuits and injury. Ensure your laptop is completely powered off and unplugged. If possible, remove the battery to eliminate any power source.
Step 2: Remove the Laptop’s Bottom Panel
Using your Phillips-head screwdriver, carefully unscrew the bottom panel of your laptop. Some laptops require you to remove the battery before accessing the screws, so check your laptop’s manual for guidance.
Step 3: Disconnect the Keyboard Ribbon Cable
With the bottom panel removed, locate the keyboard’s ribbon cable. This is a small, flat cable that connects your keyboard to the motherboard. Use your plastic pry tool to gently lift the keyboard away from the laptop’s body.
Once it’s free, locate the ribbon cable connector and gently disconnect it from the motherboard. Be careful not to damage the cable or connector, as these are delicate parts.
Step 4: Remove the Old Keyboard
After disconnecting the ribbon cable, remove the keyboard from the laptop. Depending on your laptop’s design, you may need to remove additional screws or clips holding the keyboard in place. Use the tweezers if necessary to remove any small parts.
Step 5: Install the New Keyboard
Place your new keyboard into the laptop and ensure it aligns correctly. Once it’s in position, reconnect the ribbon cable to the motherboard. Make sure the connection is secure, and don’t force anything into place.
Step 6: Reassemble Your Laptop
Once the new keyboard is installed and properly connected, carefully reassemble your laptop. Replace the bottom panel, securing it with the screws you removed earlier. Reinstall the battery if it was taken out.
Step 7: Power On and Test the Keyboard
Power on your laptop and test each key to ensure it’s functioning properly. If everything works, congratulations—you’ve successfully replaced your laptop keyboard! If not, double-check the ribbon cable connection or consult the laptop’s manual for troubleshooting tips.
Pro Tips for a Successful Laptop Keyboard Replacement
Here are some pro tips to make your laptop keyboard replacement even smoother:
- Work in a Clean, Well-Lit Area: Ensure you have a clean workspace with adequate lighting. This helps prevent losing small screws and ensures you can see what you’re doing clearly.
- Take Photos as You Go: Before removing parts or screws, take pictures so you can easily remember where everything goes when reassembling.
- Use Compressed Air: Before replacing your keyboard, use a can of compressed air to clean any dust or debris inside the laptop. This helps prevent future malfunctions.
Common Mistakes to Avoid
While replacing your laptop keyboard is a straightforward task, some common mistakes can make the process more complicated. Here are a few to watch out for:
- Forcing the Keyboard Into Place: Never force the keyboard into position, as this can damage the keyboard or motherboard. Ensure it fits properly before securing it.
- Incorrect Keyboard Model: Be sure you’re buying a replacement keyboard that’s compatible with your laptop’s make and model. An incompatible keyboard won’t fit or function correctly.
- Forgetting to Disconnect the Battery: Always disconnect the power source, including the battery, before working on your laptop. Forgetting to do so can result in electrical shorts or even injury.
Conclusion: Replace with Confidence
Replacing your laptop keyboard doesn’t have to be a stressful experience. With the right tools and a bit of patience, you can easily fix or replace a broken keyboard on your own. By following the steps and tips outlined in this guide, you can restore your laptop to its full functionality and save money on expensive professional repairs.
If you’re not comfortable performing the repair yourself, consider consulting a professional technician. However, for most users, a DIY keyboard replacement is entirely feasible.
Next Steps:
- Check out our related guides on laptop screen repairs and laptop battery replacements for more DIY fixes!
FAQ Section
1. How much does it cost to replace a laptop keyboard?
The cost can vary based on your laptop model and where you purchase the replacement. On average, a new keyboard costs between $30 and $100. If you hire a technician, expect to pay an additional labor fee.
2. How do I know if my keyboard needs replacing?
Signs of a faulty keyboard include unresponsive keys, keys that stick, or physical damage such as cracks. If cleaning or troubleshooting doesn’t work, it’s likely time for a replacement.
3. Can I replace just one key on my laptop keyboard?
In some cases, you can replace individual keys, especially if only one or two are damaged. However, replacing the entire keyboard is often a more reliable solution.
4. Is replacing a laptop keyboard difficult?
Replacing a laptop keyboard is a moderately easy task for those comfortable with DIY repairs. Following the proper steps and using the right tools can make the process straightforward.
5. Do I need to worry about voiding my laptop’s warranty?
Opening your laptop and replacing parts may void your warranty. Check with your manufacturer or review your warranty terms before proceeding with repairs.
6. What if my keyboard replacement still doesn’t work?
If the replacement keyboard doesn’t work, double-check the ribbon cable connection. If issues persist, the problem could lie with the laptop’s motherboard or other internal components. Consult a professional technician if needed.