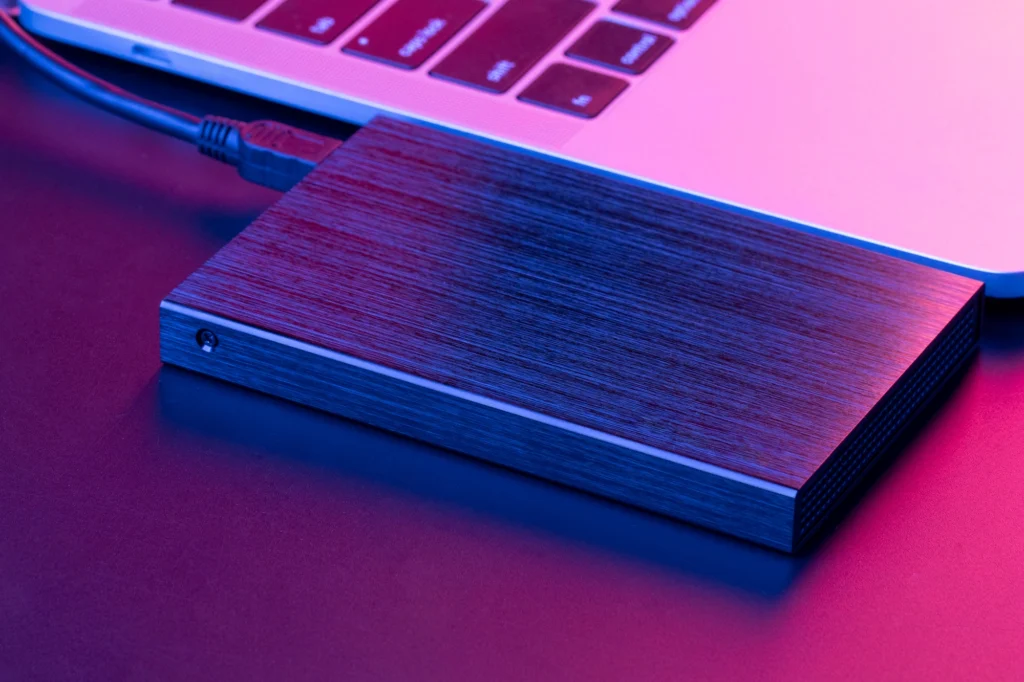
 Skip to content
Is your laptop constantly overheating? It could be time for a much-needed thermal paste reapplication. Overheating not only impacts performance but can also shorten your device’s lifespan. Many laptop users face this issue, especially those with aging laptops or those performing resource-intensive tasks. The good news is that reapplying thermal paste can significantly improve your laptop’s cooling efficiency, reducing heat and improving performance.
In this guide, you will learn everything you need to know about the process, including why thermal paste is crucial, how to properly reapply it, and common mistakes to avoid. By the end, you’ll have actionable steps to keep your laptop cool and running smoothly for years to come.
Why Does Your Laptop Need Thermal Paste?
What Is Thermal Paste and Why Is It Important?
Thermal paste, also known as thermal compound or thermal grease, is a substance used between the processor and the heatsink to improve heat transfer. It fills in microscopic gaps and imperfections, ensuring better contact between the two surfaces. Without it, heat cannot dissipate effectively, leading to overheating and performance degradation. Poor thermal paste application or aging paste can cause your laptop to run hotter than necessary, which in turn can result in thermal throttling or even hardware failure.
How Often Should You Reapply Thermal Paste?
Thermal paste doesn’t last forever. Over time, it can dry out and lose its effectiveness. If you’ve had your laptop for 3-5 years or more, it might be time for a fresh coat. Signs that you need a reapplication include:
- Consistently high CPU temperatures
- Fan noise increasing as the system struggles to cool down
- Laggy performance during demanding tasks
Tools and Materials You Need for the Job
Essential Equipment for Thermal Paste Reapplication
Before starting, gather all the necessary tools and materials to ensure a smooth reapplication process:
- Thermal Paste (Preferably high-quality brands like Arctic MX-4, Noctua NT-H1)
- Isopropyl Alcohol (90% or higher) for cleaning old thermal paste
- Microfiber Cloth to wipe the components clean
- Screwdriver (Typically Phillips-head, but check your laptop model)
- Anti-static wristband to prevent damaging sensitive components
- Plastic Spudger for gently prying open the case (if needed)
Step-by-Step Guide to Reapplying Thermal Paste
Step 1: Power Down and Disassemble Your Laptop
1.1 Shut Down Your Laptop
Begin by shutting down the laptop completely. Disconnect it from the power source and remove the battery (if possible). This ensures your safety and protects your device from any electrical damage.
1.2 Open the Laptop’s Back Panel
Using the screwdriver, remove the screws securing the back panel. Be sure to keep the screws in a safe place so you don’t lose them. Some laptops might have hidden screws under rubber feet or stickers, so check carefully.
1.3 Locate the Processor and Heatsink
After removing the back panel, locate the CPU (central processing unit) and the heatsink. The heatsink is usually a large metal piece that helps dissipate the heat from the CPU. You may need to remove screws or clips to unmount the heatsink.
Step 2: Clean the Old Thermal Paste
2.1 Wipe Off the Old Thermal Paste
Once the heatsink is removed, you will see the old thermal paste between the CPU and the heatsink. Use a microfiber cloth and isopropyl alcohol to gently wipe away the old paste. Be careful not to damage any components.
2.2 Clean the Heatsink
Don’t forget to clean the heatsink as well, ensuring there are no remnants of old paste. A clean surface is critical for optimal heat transfer.
Step 3: Apply New Thermal Paste
3.1 Apply a Small Dot of Paste
Place a small, pea-sized amount of thermal paste in the center of the CPU. Remember, less is more—too much paste can cause it to spill over and affect other components.
3.2 Spread the Paste (Optional)
Some users prefer to spread the paste with a spatula or plastic card for a more even distribution. However, modern thermal pastes typically spread themselves when the heatsink is reattached, so this step is optional.
Step 4: Reattach the Heatsink and Reassemble
4.1 Secure the Heatsink Back
Align the heatsink over the CPU and gently lower it into place. Once positioned correctly, screw it back into place. Make sure it’s secured tightly, but don’t over-tighten the screws.
4.2 Reassemble the Laptop
After reattaching the heatsink, put the back panel back on and secure it with the screws you removed earlier. Reinsert the battery and reconnect your laptop to the power source.
Step 5: Test the System
5.1 Power On and Check Temperature
Once everything is back in place, power on your laptop and monitor the CPU temperature using software like HWMonitor or CoreTemp. Check if the temperature is lower than before the thermal paste reapplication.
5.2 Monitor for Stability
After applying the thermal paste, run your laptop for several hours under load (e.g., gaming, video editing) to see if the system maintains lower temperatures and stable performance.
Common Mistakes to Avoid
Using Too Much Thermal Paste
One of the most common mistakes is applying too much thermal paste. Remember, a small pea-sized dot is all you need. Excess paste can spill over and make its way onto other components, potentially causing issues.
Not Cleaning the Old Paste Properly
If you don’t thoroughly clean the old thermal paste, the new paste won’t work as efficiently. Always ensure you’re using isopropyl alcohol (90% or higher) and a lint-free cloth to clean all surfaces.
Applying the Wrong Type of Thermal Paste
Different thermal pastes have different properties. Make sure you choose one that’s suitable for your laptop’s cooling needs. For example, conductive pastes should be avoided as they can cause shorts if spilled onto other components.
How Reapplying Thermal Paste Can Improve Your Laptop’s Cooling
What Benefits Can You Expect?
- Lower CPU temperatures: The most immediate benefit of thermal paste reapplication is a reduction in CPU temperature. This can improve performance and prevent thermal throttling.
- Longer laptop lifespan: Overheating can degrade your laptop’s components over time. By keeping the temperatures low, you help extend the life of your machine.
- Enhanced performance: Your laptop can perform better under heavy loads without the constant need for the fan to run at maximum speed, which can be noisy and power-hungry.
Expert Insights: Pro Tips for Laptop Thermal Paste Maintenance
- Replace thermal paste every 2-3 years: As thermal paste ages, it loses its effectiveness. Regular reapplications can prevent overheating issues.
- Choose high-quality thermal paste: Investing in a quality thermal paste can make a significant difference in your laptop’s cooling performance.
- Consider professional help: If you’re not comfortable with disassembling your laptop, consider seeking a professional technician to handle the thermal paste reapplication.
Conclusion
Reapplying thermal paste to your laptop is a cost-effective way to enhance its cooling efficiency and extend its lifespan. By following this comprehensive guide, you can ensure your laptop stays cool even during the most demanding tasks.
If you’re still experiencing issues with overheating or performance, don’t hesitate to contact a professional for assistance. A well-maintained laptop is an investment in your productivity and peace of mind.
FAQ Section
- How often should I reapply thermal paste?
It’s recommended to reapply thermal paste every 2-3 years, or sooner if you notice high temperatures or thermal throttling. - Can I use any thermal paste for my laptop?
While most thermal pastes work, choose a high-quality, non-conductive paste designed for laptops or CPUs. Brands like Arctic MX-4 and Noctua NT-H1 are great options. - What happens if I don’t apply thermal paste correctly?
Incorrect application can lead to higher temperatures, reduced cooling efficiency, or even damage to your CPU or motherboard due to overheating. - How do I know if my laptop needs new thermal paste?
If you notice your laptop heating up faster than usual or the fan running loudly even under light use, it’s time to check and possibly reapply the thermal paste. - Is it safe to apply thermal paste myself?
Yes, it’s safe if done correctly. Just make sure you follow the proper steps and take precautions like grounding yourself to prevent static damage. - Can thermal paste improve my laptop’s battery life?
While thermal paste won’t directly impact battery life, by preventing overheating, it can help your laptop run more efficiently, which might indirectly improve battery performance. - Should I apply thermal paste to the GPU as well?
If you’re comfortable disassembling the GPU, it’s a good idea to apply thermal paste to it as well, especially if you notice overheating during gaming or rendering tasks.
